Connection and Ignition
Important Notice
⚠️ Please follow the steps in the specified order to ensure a proper connection of all elements.
Deviating from this sequence may result in setup issues.
Steps to Connect and Power On
-
Connect the Laptop
- Plug the laptop into the mains using its adapter
-
Connect the Router
- Plug the Router into the mains using its adapter
-
Connect the Ethernet Cable to the Router
- Insert one end of the Ethernet cable into one of the router's input ports (1, 2, 3, or 4).

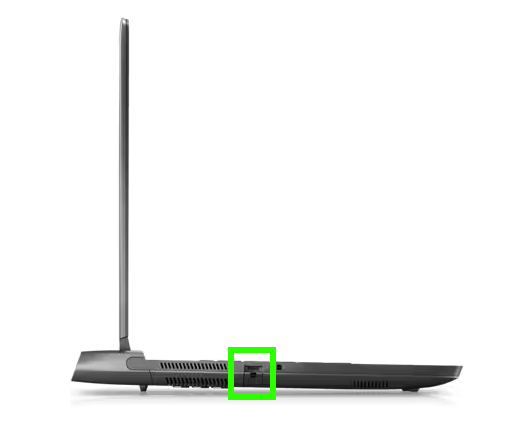
Blue box: Power Button
- Connect the Ethernet Cable to the Laptop
- Plug the other end of the Ethernet cable into the laptop's Ethernet port.
-
Power On the Router
- Press the power button on the router to turn it on.
-
Start the Laptop
- Open the laptop and press the "Alien" button to power it on.
Note: It may take a few seconds for the laptop to light up and boot

Position may vary on newer models
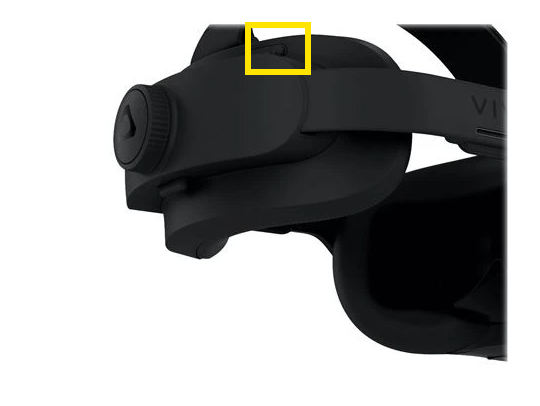
- Power On the VR Headset
- Press and hold the power button on the back of the VR headset for a few seconds.
- Both trackers should switch to green LED status when powered on.
- For right-handed operation:
- The weapon tracker should display the R label.
- The wrist tracker should display the L label.
Tips
-
Ensure all devices are fully charged or properly connected to power before starting the setup process.
-
Verify all connections and LED indicators are functioning as expected before using the system.